Compose New Template
Overview
The Reach app is designed to help you quickly and easily compose Templates for bulk messaging. By using Templates, you ensure templates you sent are personalized and impactful and doesn't get lost in the clutter of other messages people receive.
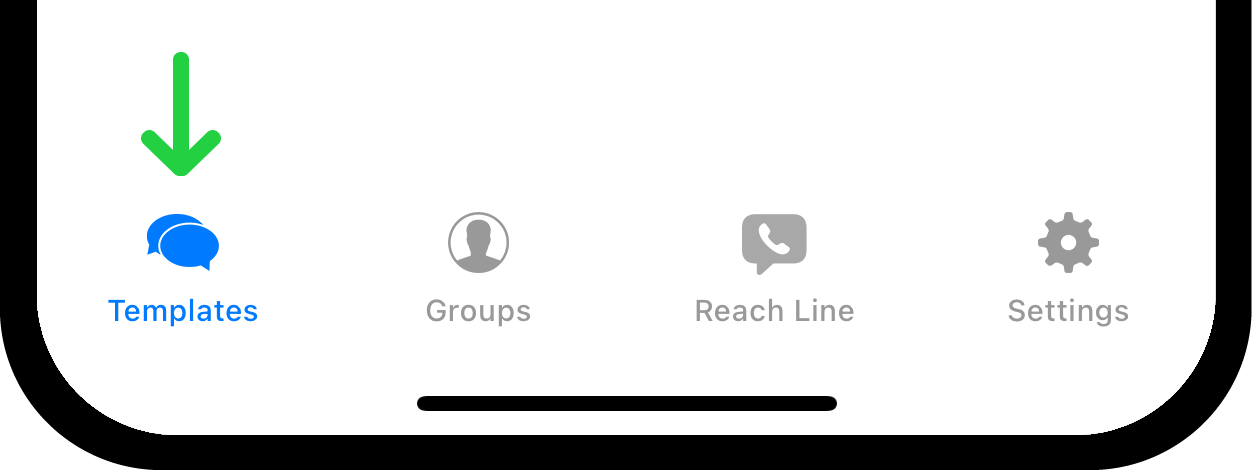
1. Navigate to Templates
Start by locating the Templates icon on the toolbar at the bottom of your screen. Tap on it to open the Templates.
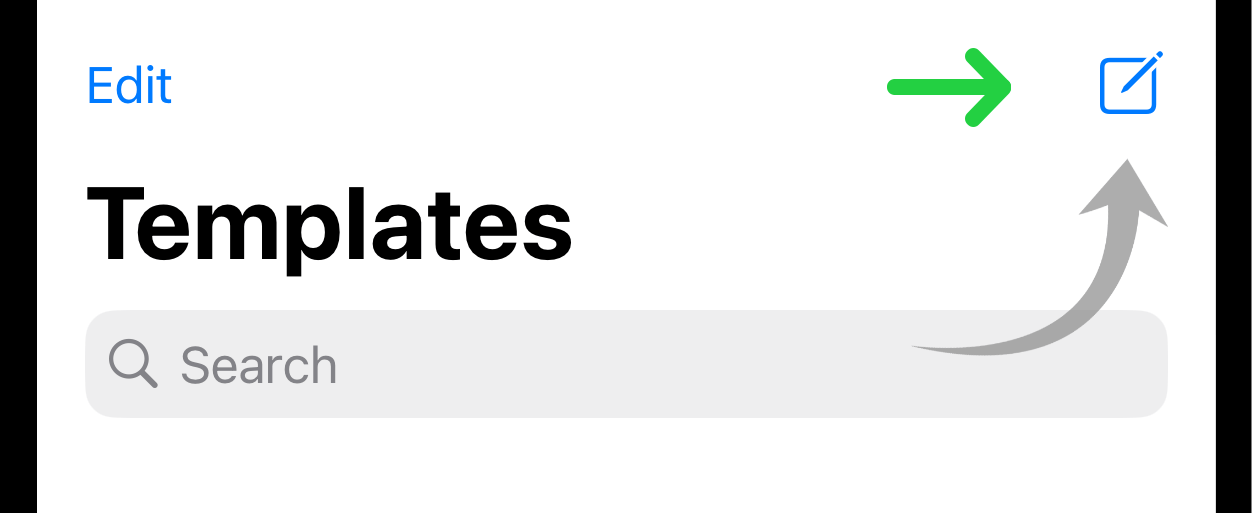
2. Look for a Button to Create a New Message Template
You can find the button to create a new message template in the upper right corner. Tap on it to begin composing your template.
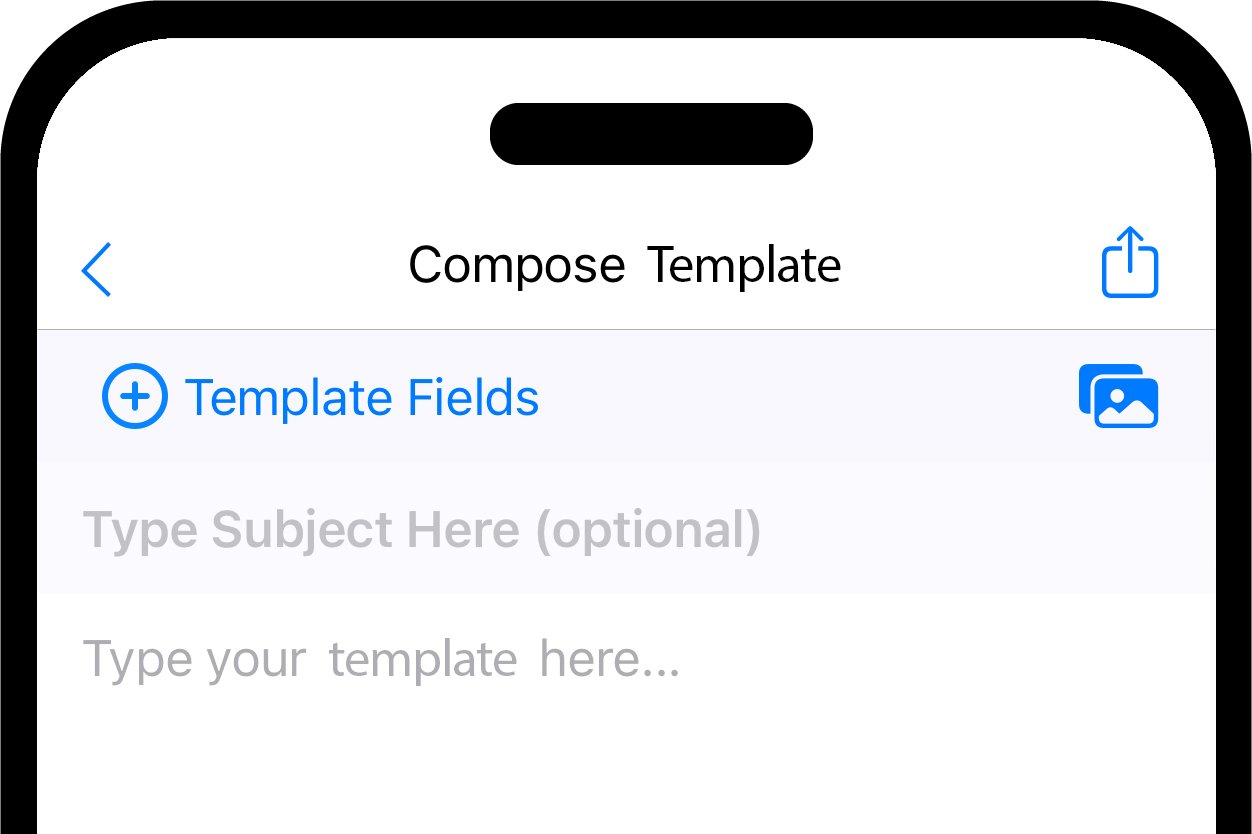
3. Compose Your Template
Upon clicking the new template button, you will be automatically directed to a new page dedicated to template editing. Here, you can craft your message template with the following elements:
Text of Template: This is the body of your template where you convey your primary information. You can type directly into the text box provided. Text copied from another template or other sources can also be pasted.
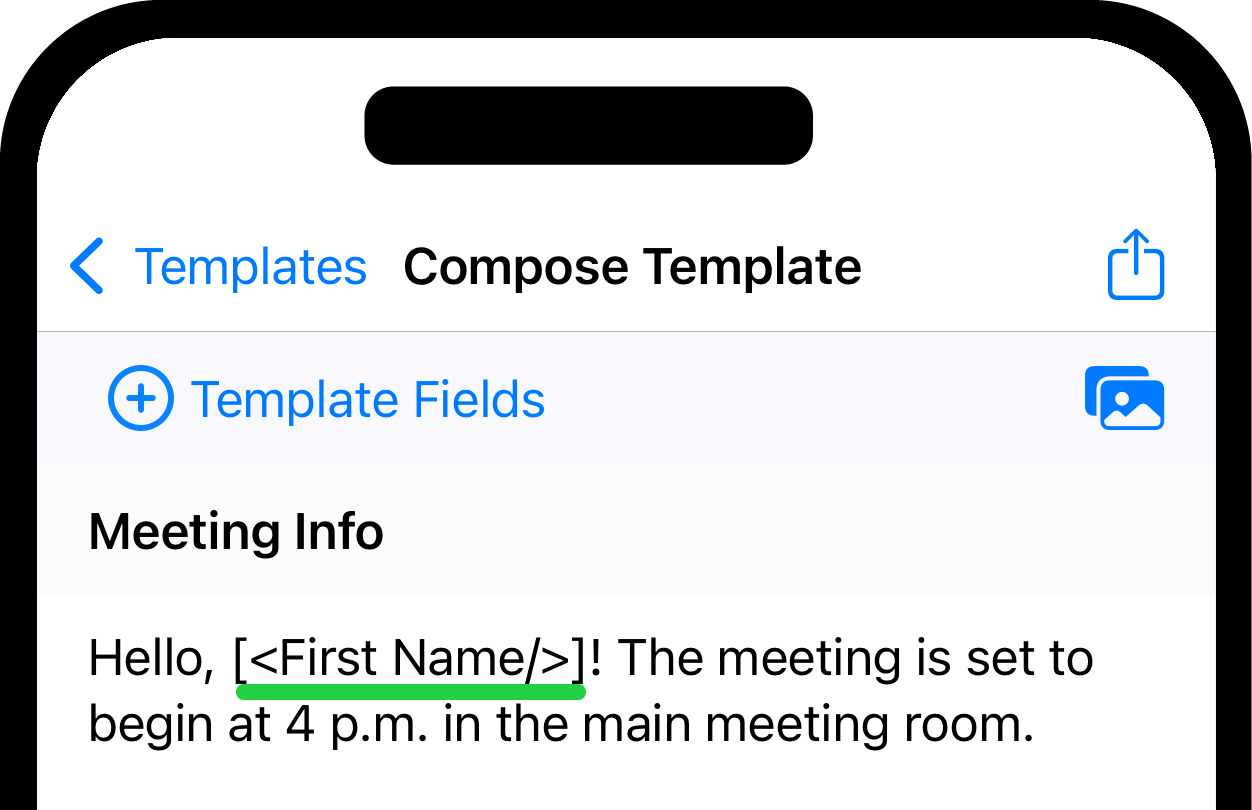
Template Fields. You can use template fields to make your message template more personal, especially when sending it to a group. For example, by inserting the First Name template field into template, you can automatically personalize each message template you sent with the recipient's first name. This ensures that each contact receives a customized message, yet without being aware of other recipients.
To add a template field, click on the Template Fields button and select the desired option from the dropdown menu.

For more details on using template fields effectively, refer to Personalize Message Templates with Template Fields.
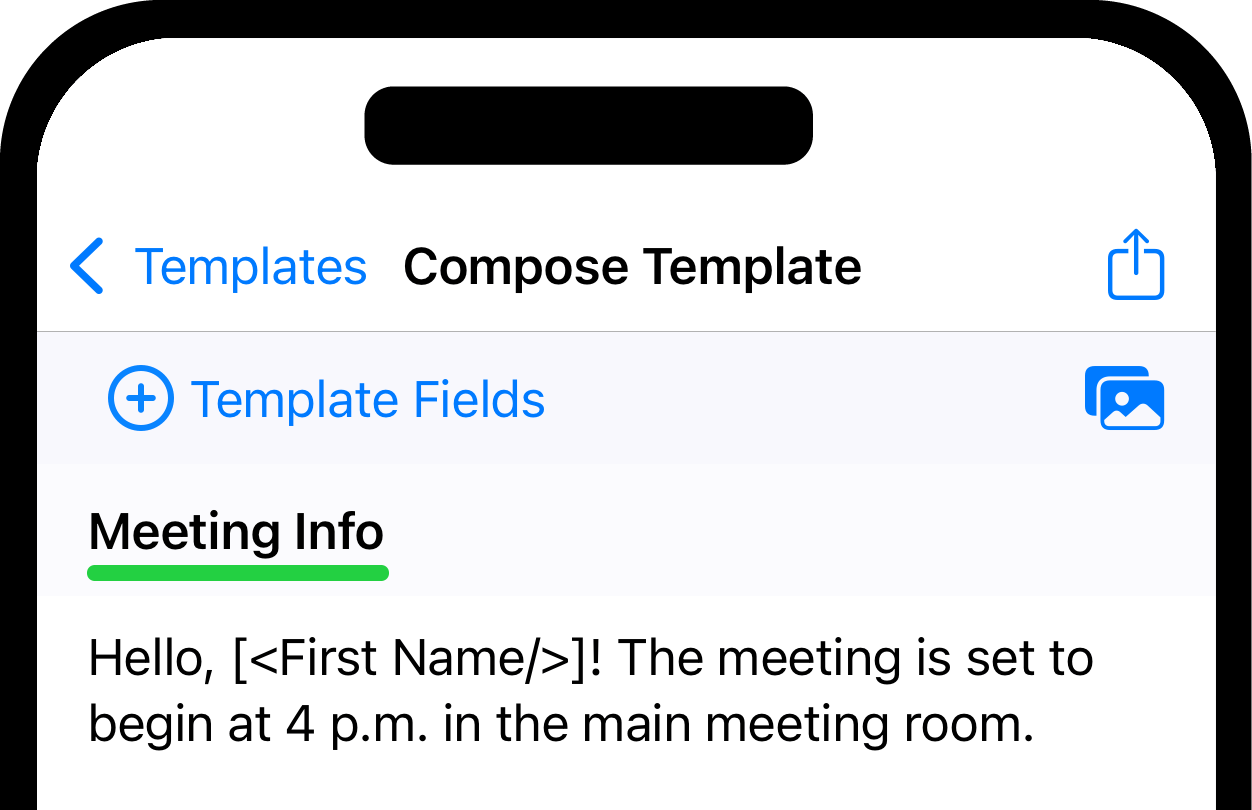
Subject (for Email and MMS only). If you're composing template for an email or MMS, there is a field with the hint "Type Subject Here (optional)". In our example, the subject is "Meeting Info".
To use the "Subject" field in MMS: 1. Navigate to your iPhone's Settings. 2. Scroll down and select Messages. 3. Toggle the Show Subject Field setting to the ON position. Please, note that the Subject Field cannot be used in Fully Automatic Sending mode for MMS due to Apple's limitation.
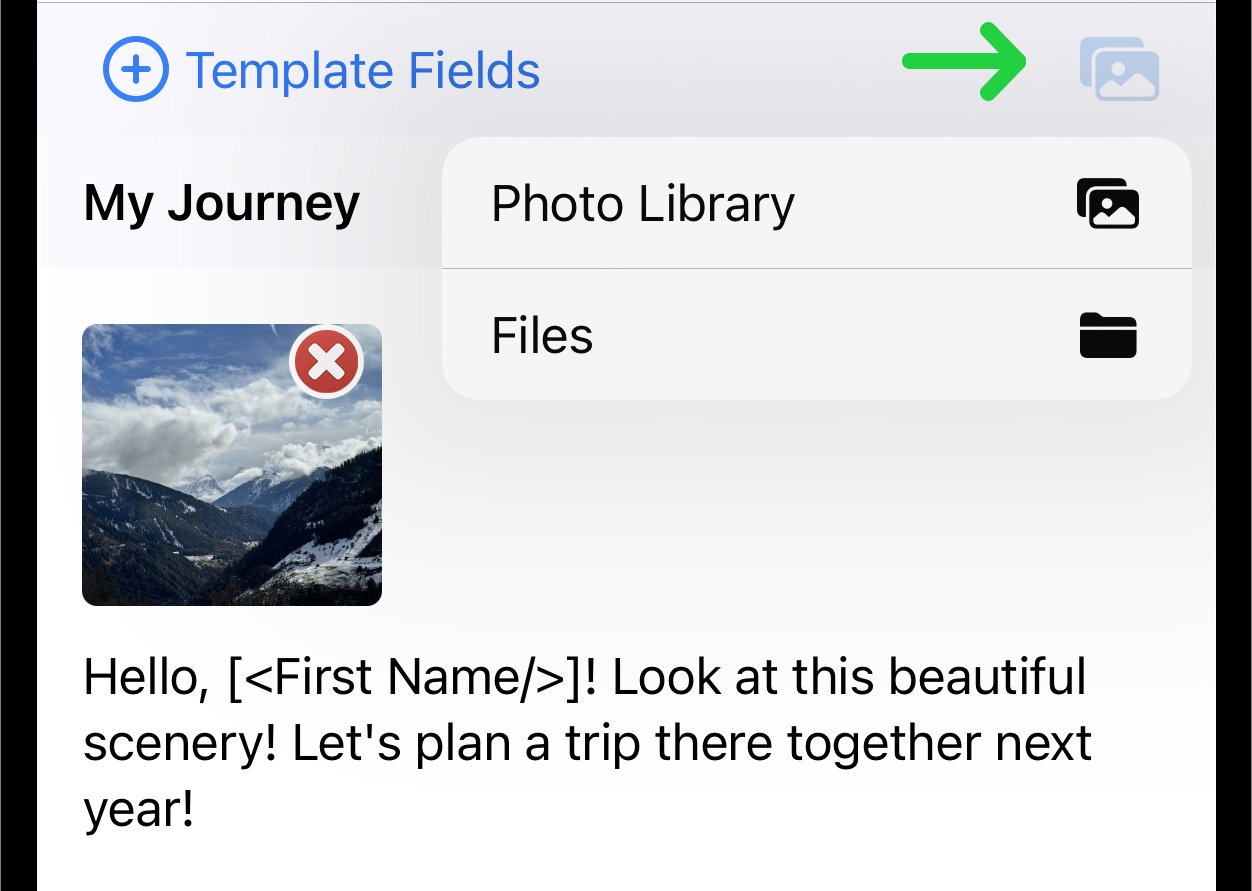
Attachments: You have the option to attach images or files to your template. Look for an attachment button in the upper right corner. To add an image, you can select it from your photo library. For attaching a file, navigate to and choose the desired file from the Files on your device.
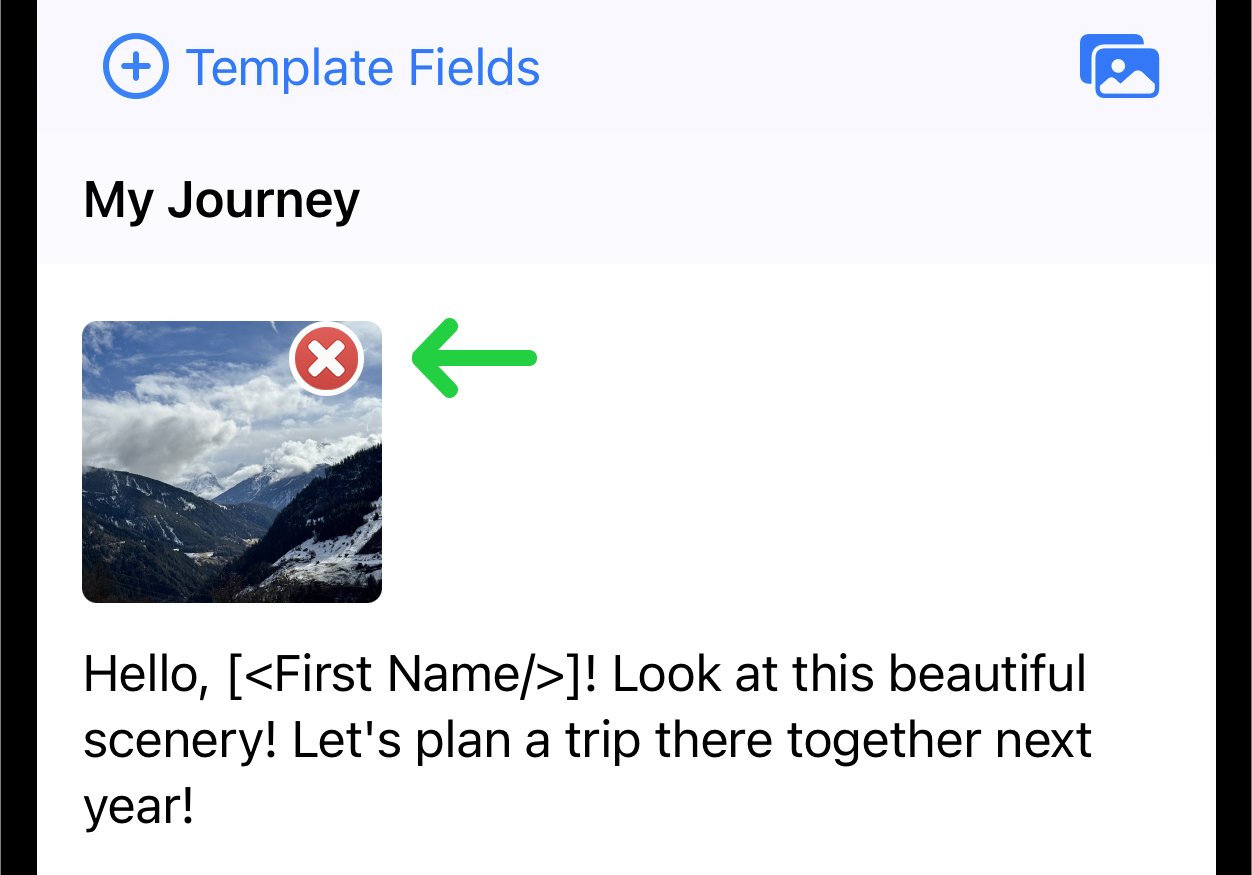
Added images and files will be displayed as thumbnails above the main text of the template. Each attachment can be removed by clicking on the red cross on the thumbnail.
Templates with attachments will be sent as either MMS or iMessage.
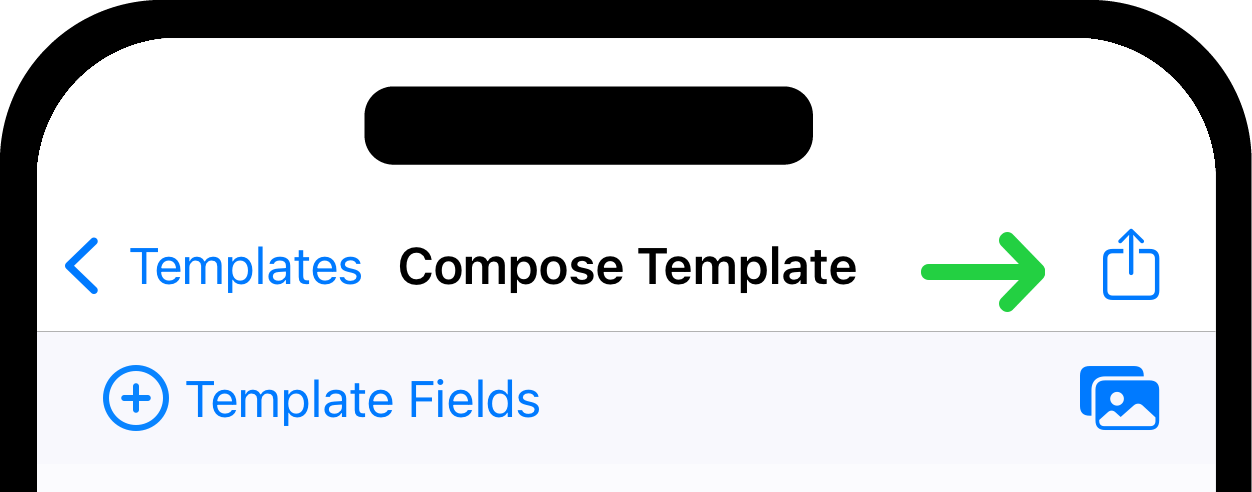
4. Send the Template
Once you have composed your template and added any necessary attachments, look for the send button. Tap on it to send your template to the recipient(s).
In Send Template you will find detailed documentation on how to send the template you have created.