Personalize Message Templates With Template Fields
Overview
The Template fields are a flexible tool for creating customized message templates for various purposes. They streamline communication by allowing users to insert pre-defined content tailored to specific details like first name, location, department, and more. When template fields are defined on the contact’s edit page, they become available in a dropdown menu during template composition and can be easily inserted into it.
1. Add Template field
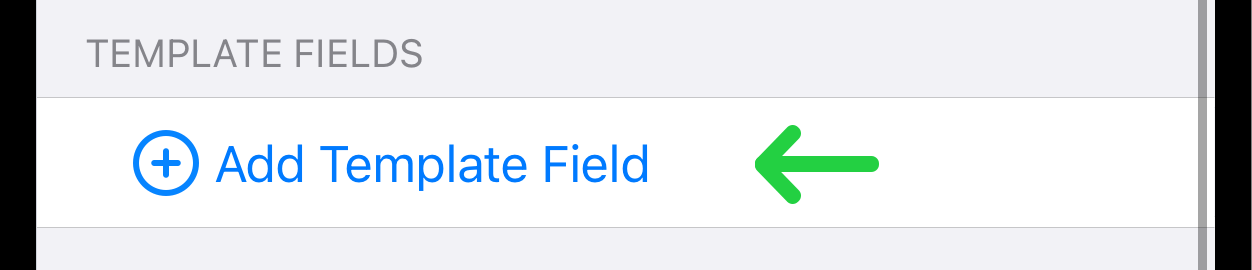
Add new contact or open the existing one. On the bottom of the Edit Contact's page you can find Template Fields section. To add a new template field, tap the "Add Template field" button.
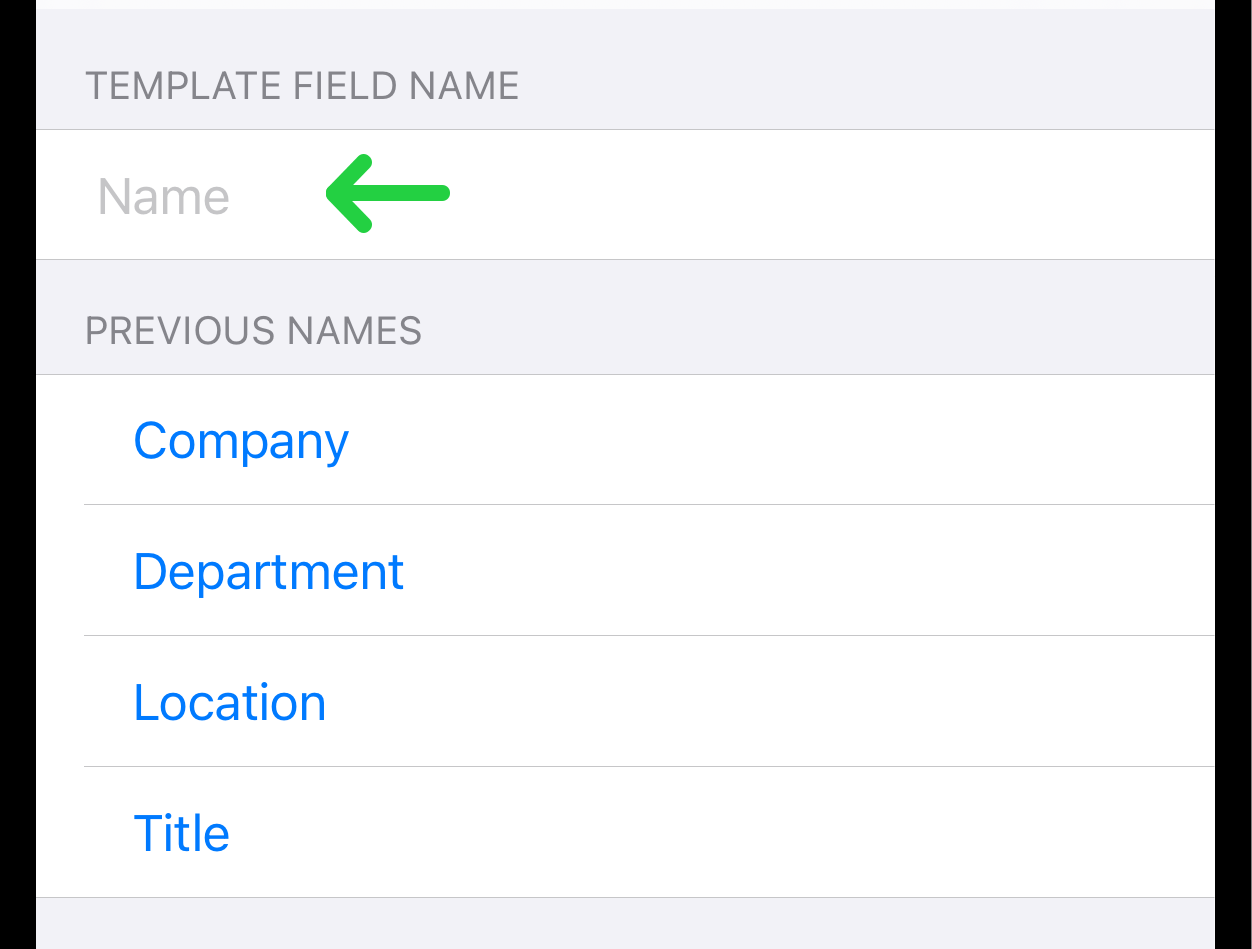
Then, a new page will open where you can select a template field name from the ones provided or enter any other name of your choice.
After that, on the main contact editing page, enter the value for the template field.
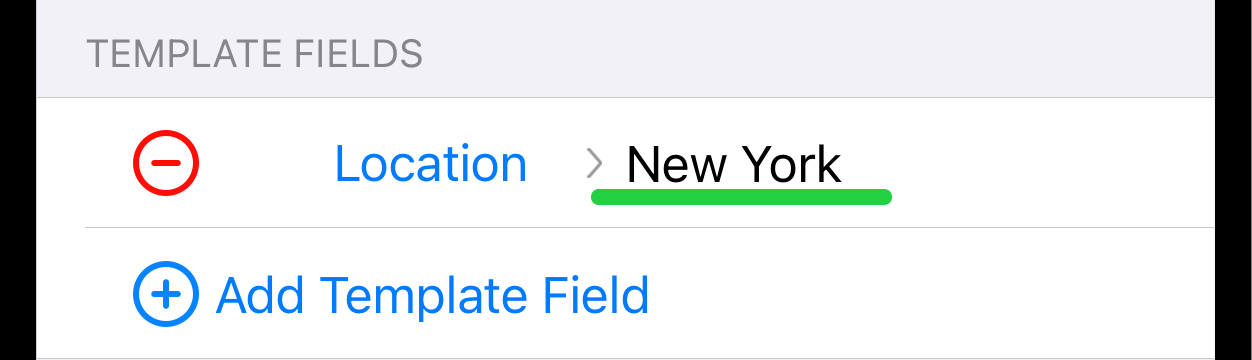
Example Usage. Consider you have added a Location template field to three different contacts. For the first contact, the value of this template field is Los Angeles, for the second - New York, for the third - Sarasota.
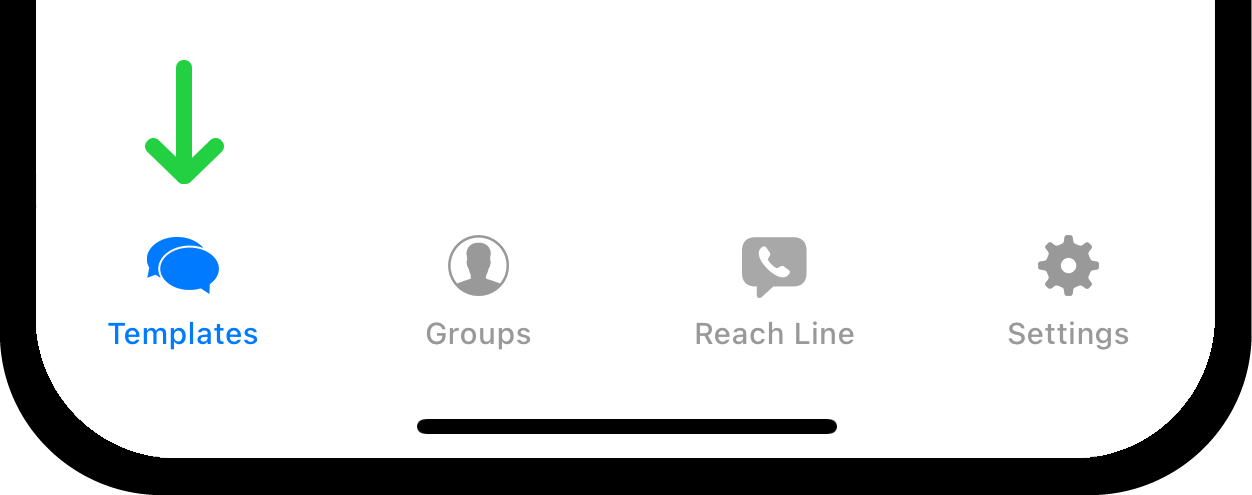
Go to Templates.
Compose a new template using the newly created template field.
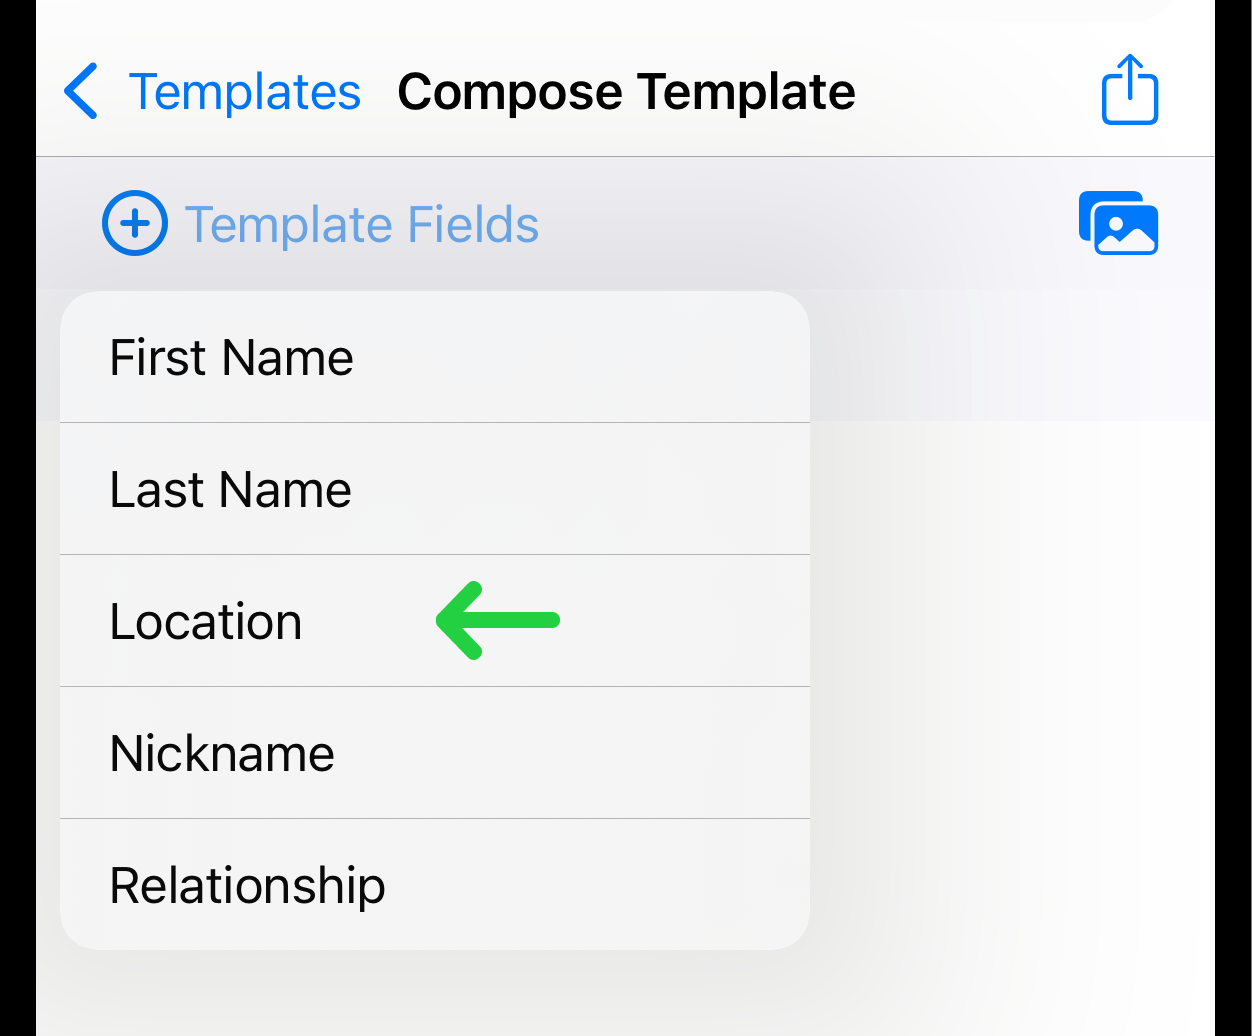
During a template composition, you could use this template to personalize each template based on the contact’s Location template. Your template could look like this:
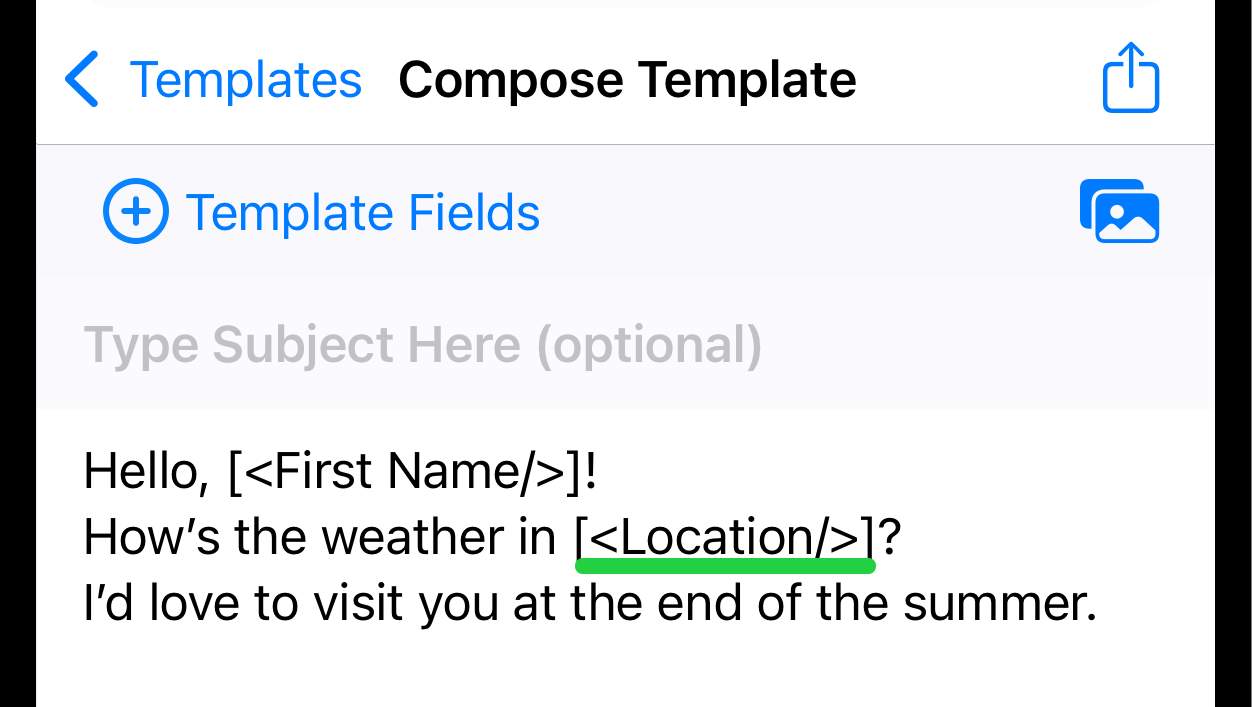
In turn, the contacts will receive messages like:
"Hello, Annie! How's the weather in Los Angeles? I'd love to visit you at the end of the summer".
"Hello, Kate! How's the weather in New York? I'd love to visit you at the end of the summer".
"Hello, Charlie! How's the weather in Sarasota? I'd love to visit you at the end of the summer".
This example demonstrates how template fields can be used to customize message templates, making each communication feel more personal and relevant to the recipient.
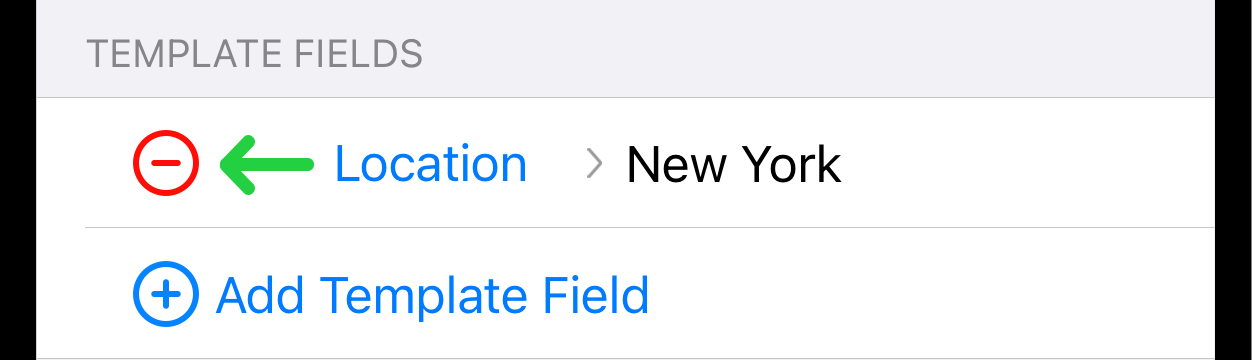
2. Delete Template Field
Locate the template you wish to delete and click on the red button to the left of it.
Tap the "Done" button in the upper right corner to save your changes.
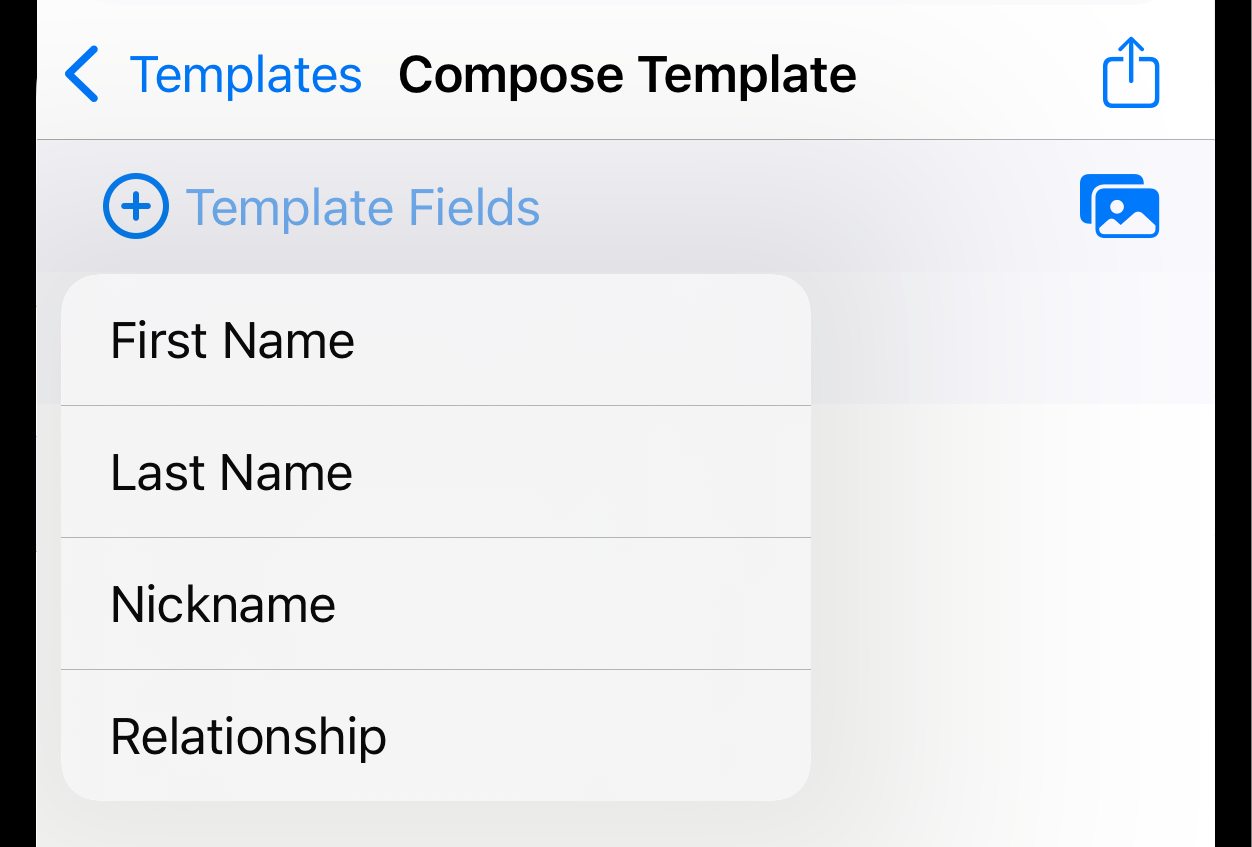
If the template field was assigned to only one contact and you delete it, the template field will also disappear from the Template Fields list when composing Templates.
In the example below you can see that the "Location" is no longer in the list.
3. Support Old Template Fields Format
The format of template fields in Reach has been changed. Previously, Reach used only two types of template fields: Relationship and Nickname, and they were represented by standard emoji. Please refer to Support Old Template Fields Format to read how you can use both formats of template fields now.