Import and Export All Groups at Once
Overview
This feature is designed to quickly transfer your group and contact data in Reach from one device to another.
1. Access Import and Export Feature in Settings
Navigate to "Settings" via the toolbar (Toolbar > Settings).

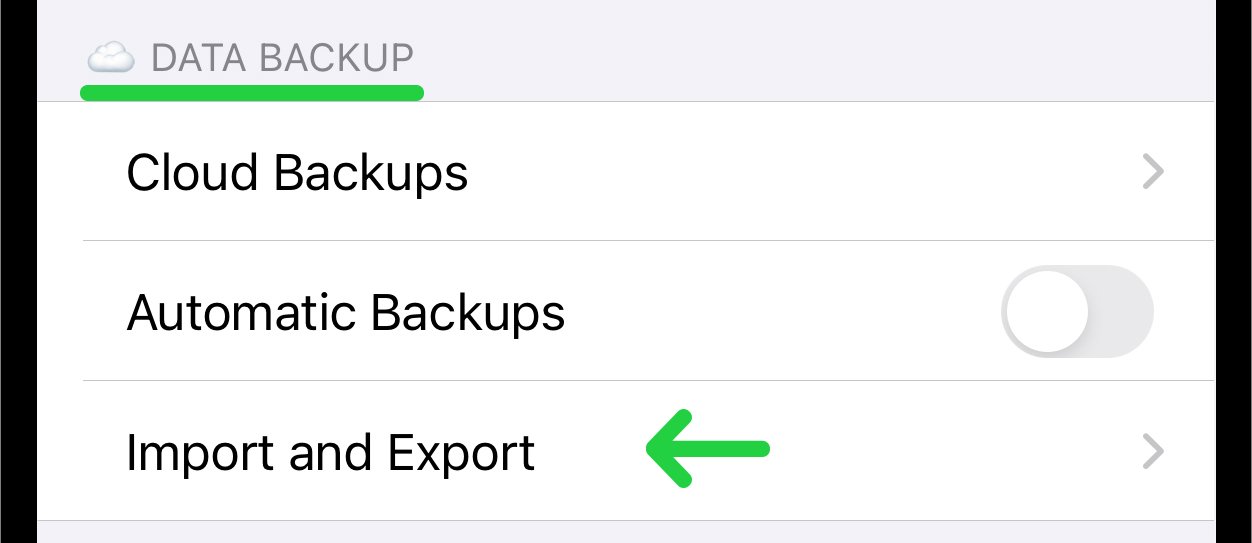
Find and tap the "Import and Export" in the Data Backup section.
2. Export All Groups to a CSV File
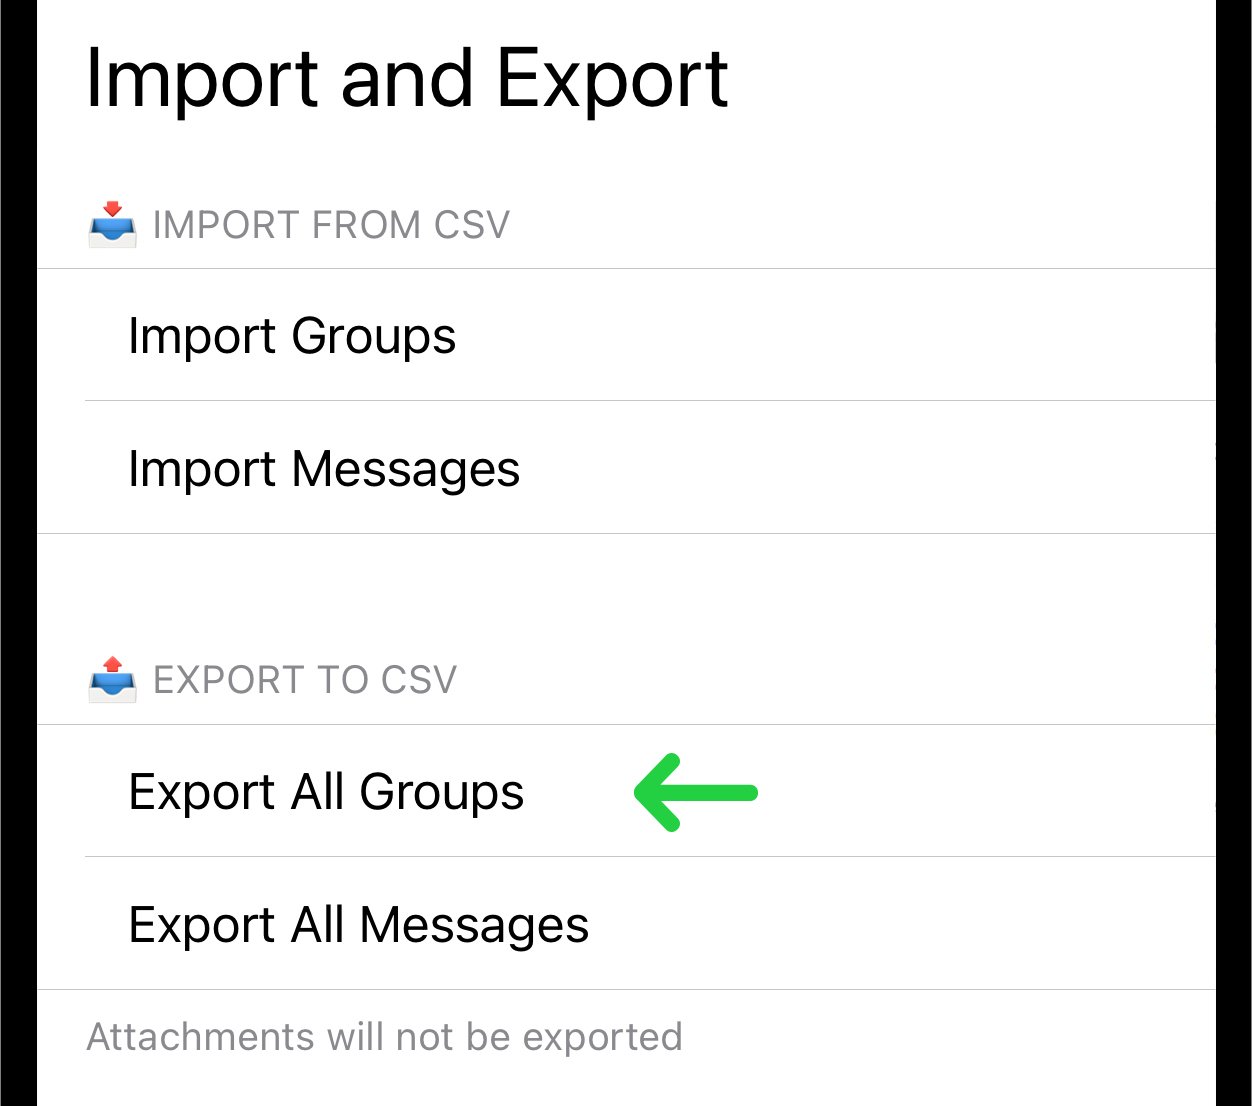
Tap the "Export All Groups" button.
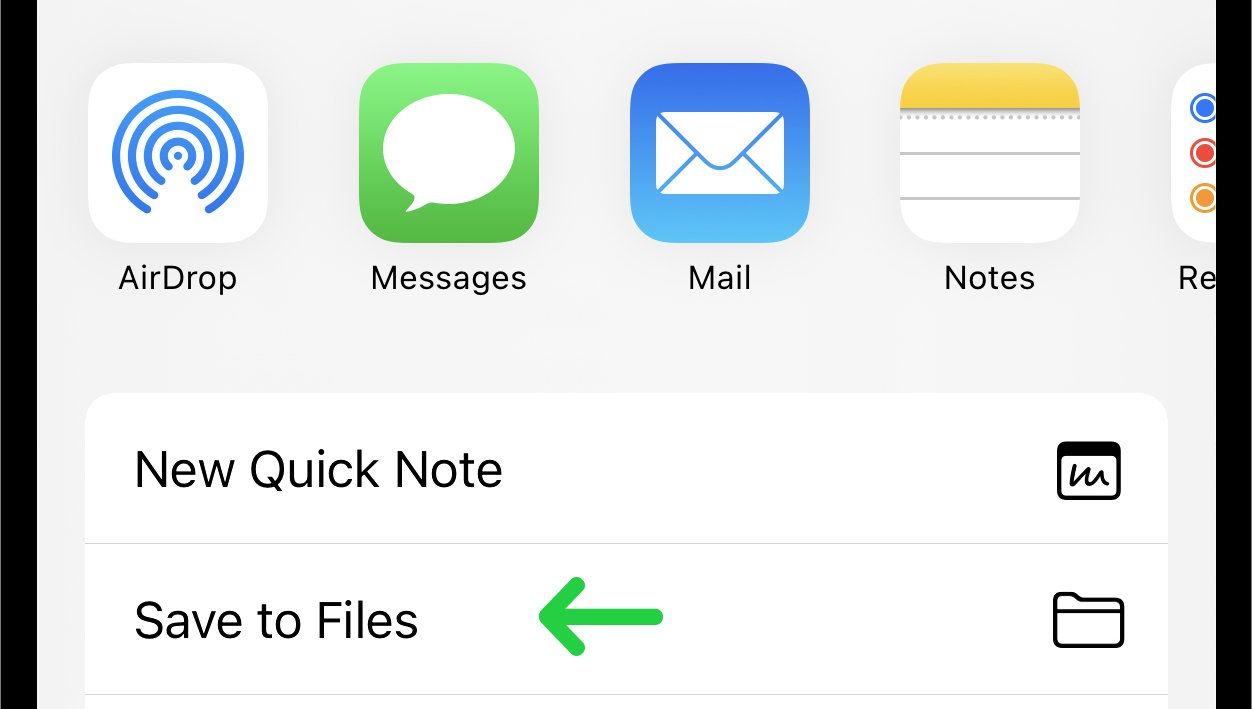
Choose the "Save to Files" option.
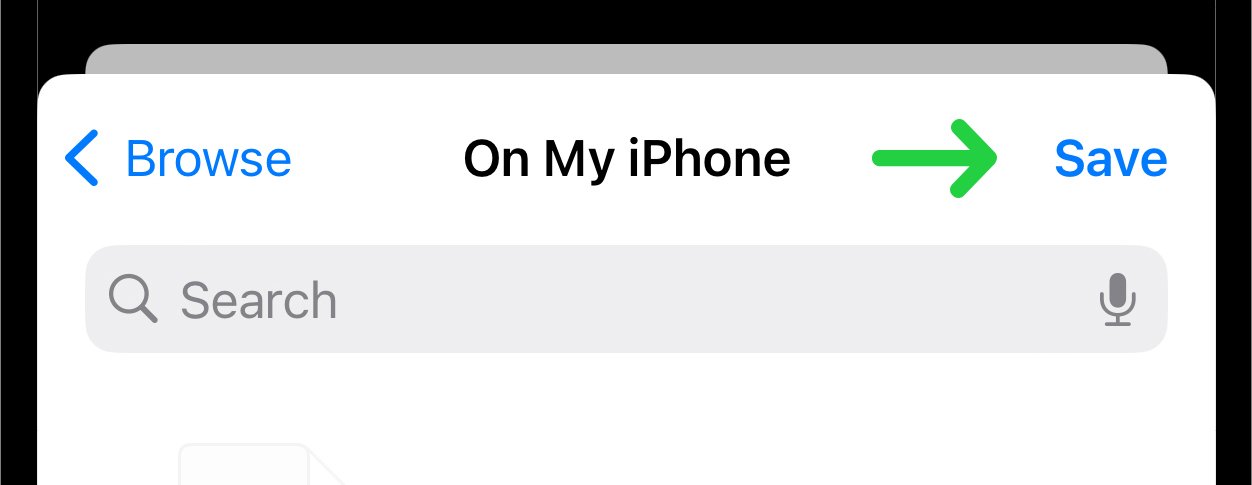
Tap the "Save" button in the top-right corner.
Please note that each group is exported as a separate CSV file. To import all groups, make sure to select all exported files during import.
After saving, the dialog will appear confirming the successful export of the groups. Tap the "Done" button to finish the export.

3. Sending the Exported Files to Another Device
If you want to import the exported files on another device, you need to transfer the files to that device first.
You can send the files using email, a messaging app, or any other file-sharing method available on your device. If both devices support AirDrop, you can also use AirDrop to transfer the exported files quickly.
4. Import Groups from a CSV File
Selecting "Import and Export" redirects to the dedicated page for these functions.
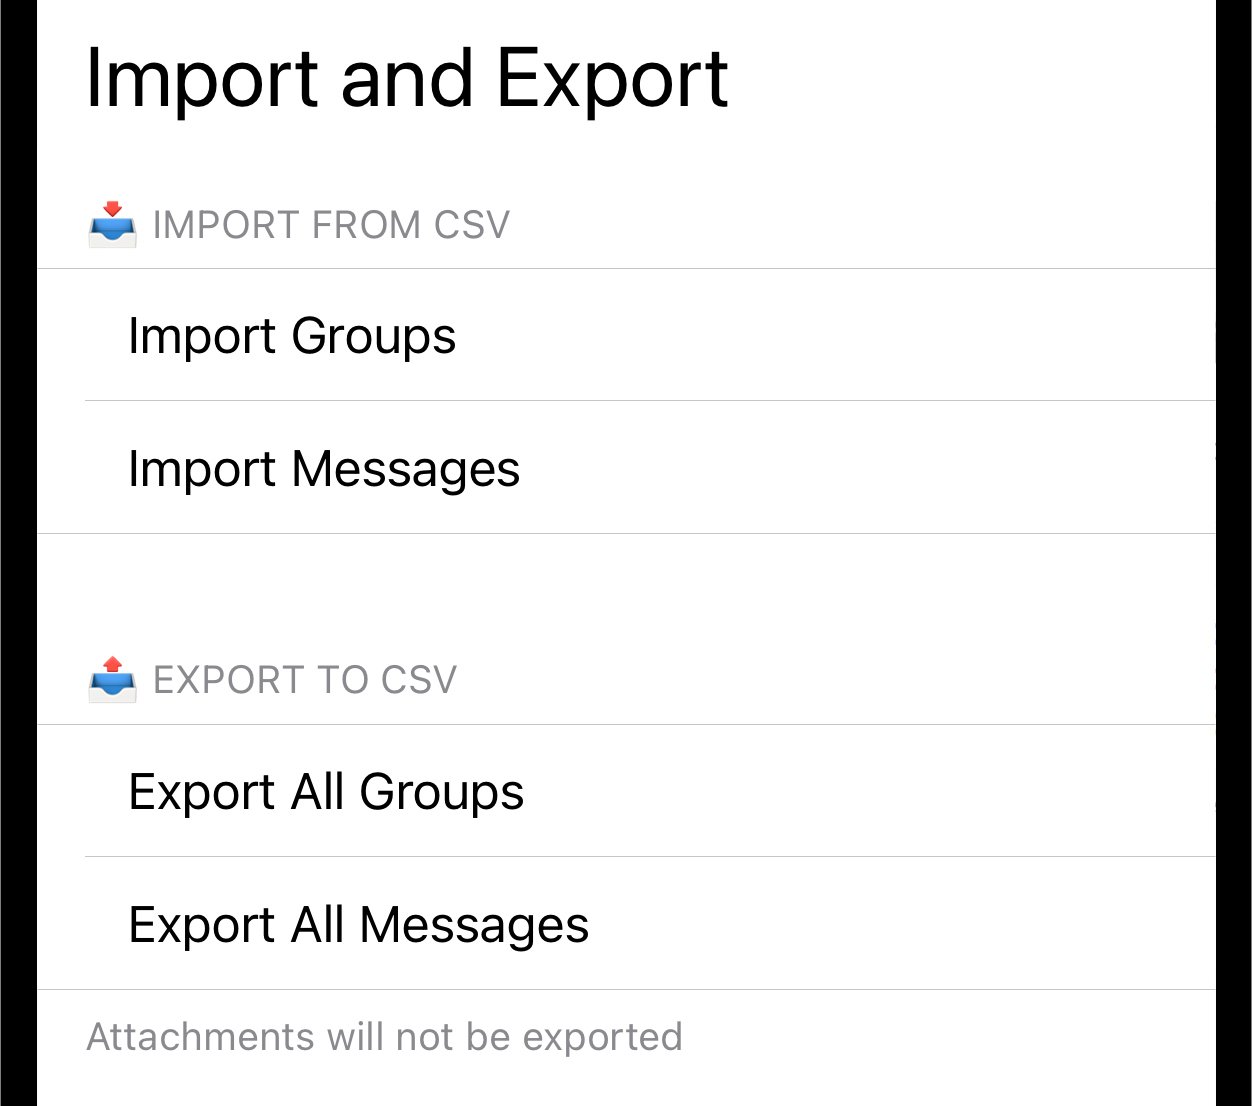
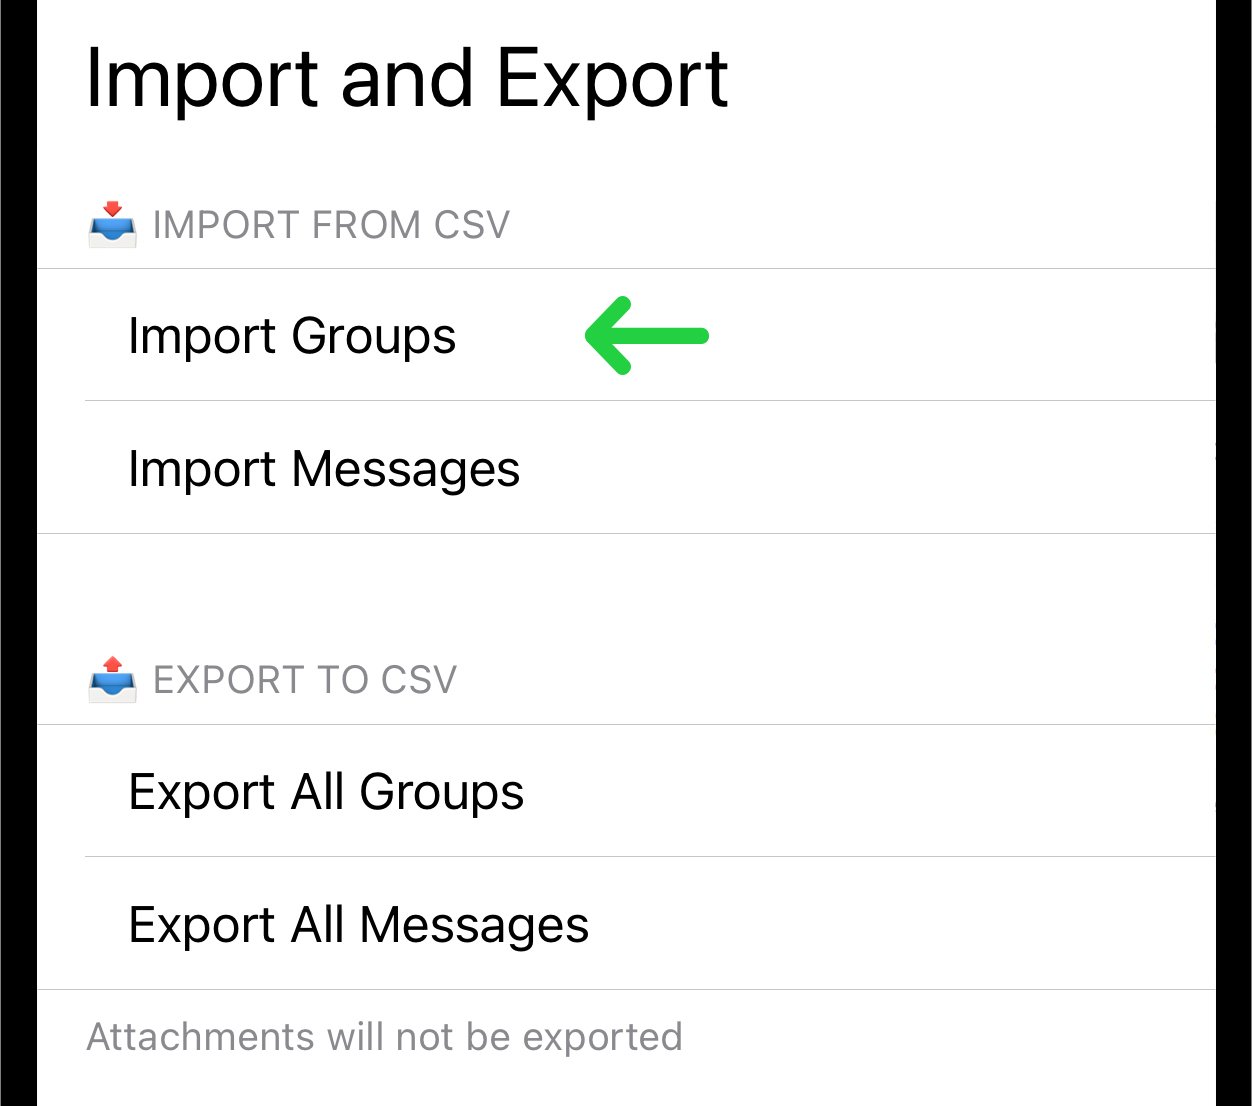
Tap the "Import Groups" button.
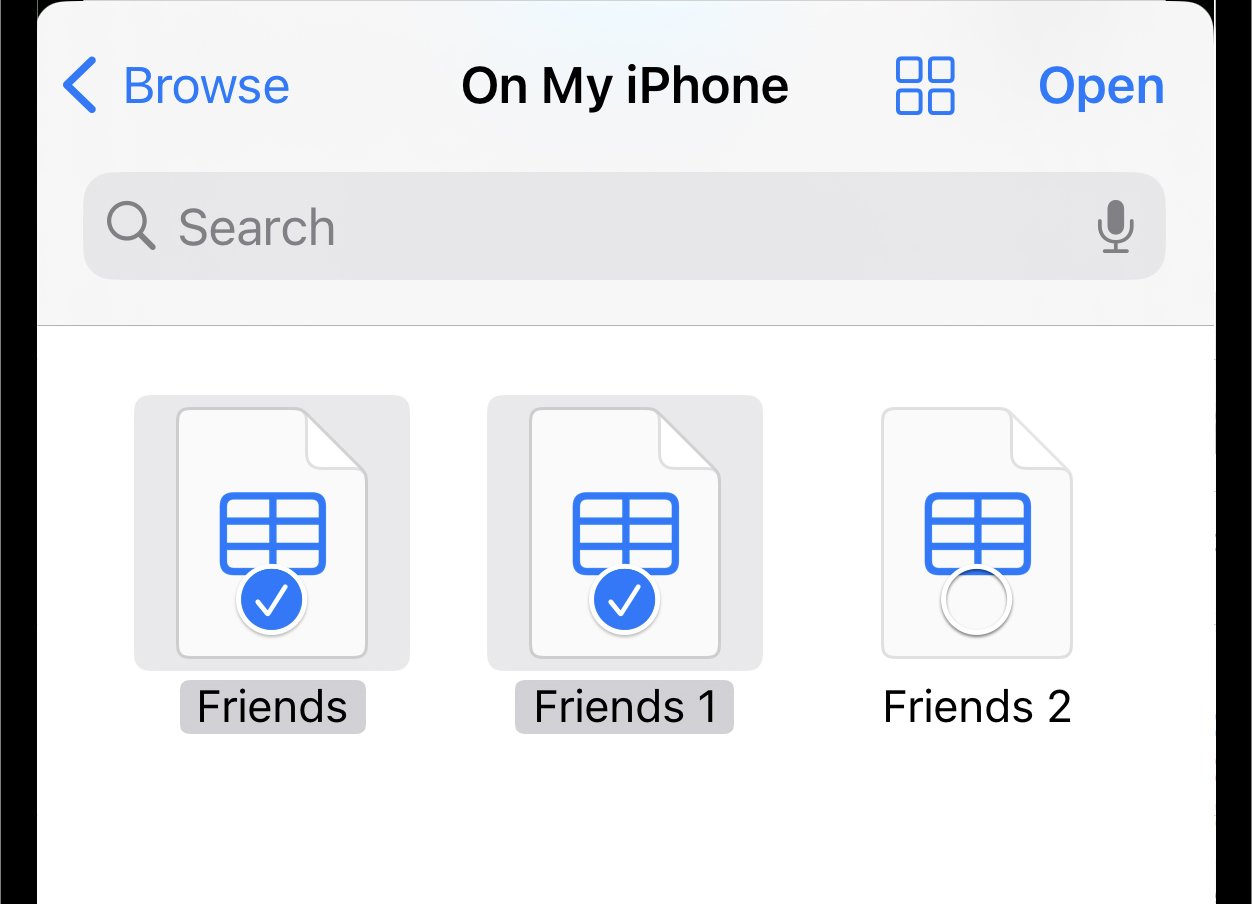
Select one CSV file or multiple files from your device for the import.
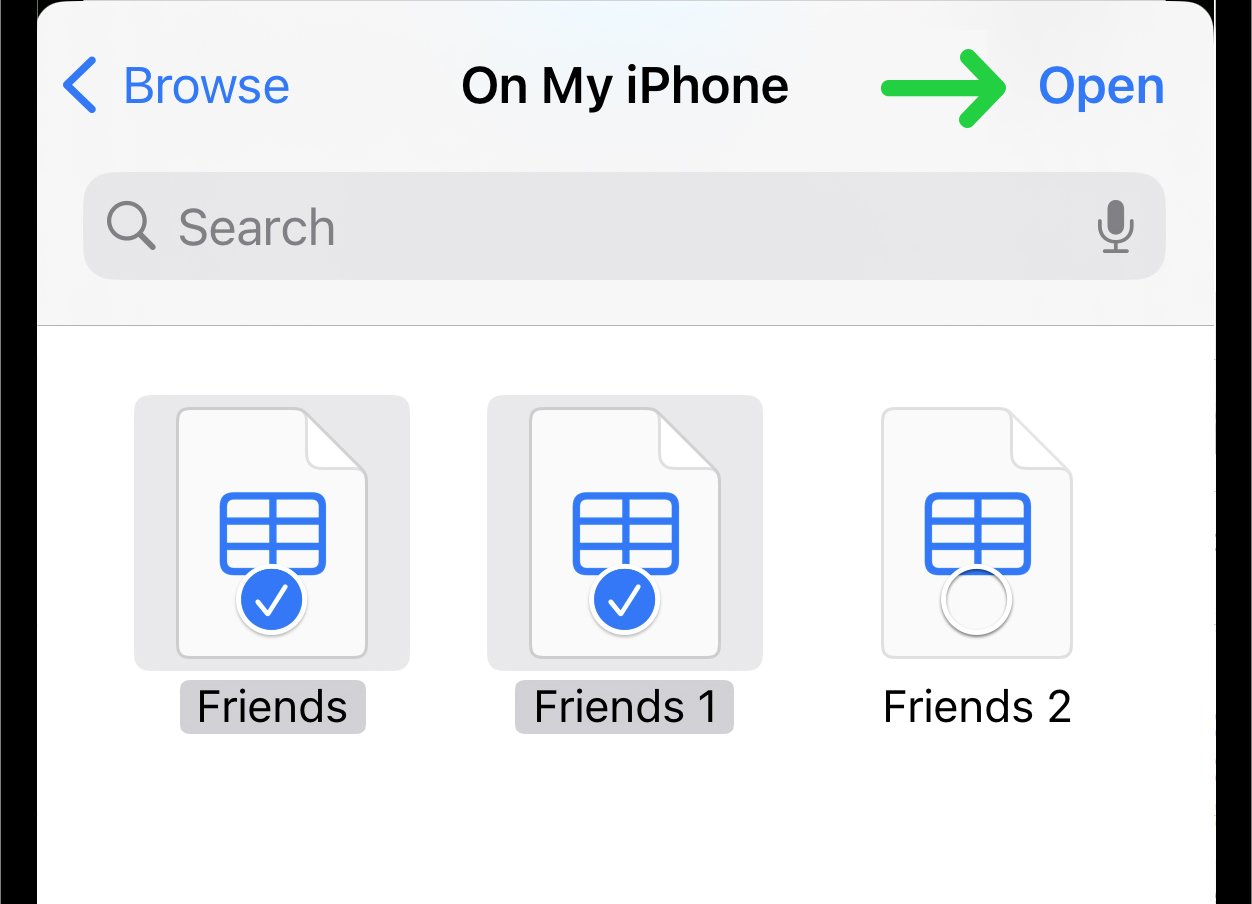
Tap the "Open" button located at the top-right corner to proceed the import.
After processing, the success dialog will confirm the import of the groups. Tap the "Done" button to finish the import.

5. Creating a CSV File Manually
If you want to create a CSV files yourself and import it into the app, you need to prepare a CSV files for the import. To learn how to do this and what data format the files should contain, read Prepare CSV File For Importing Contacts And Groups.